
We've been drinking a lot of almond milk lately. Out of a desire to lessen on dairy intake, out of pleasure, and just because. A few weeks ago I purchase Silk brand almond milk as it was on sale at a local chain grocery store. Unfortunately I didn't pay any attention to the ingredient list until I got home - there were a lot more than I was expecting and some pretty weird and probably unnecessary things. Other than that one time I have been buying Blue Diamond brand almond milk from one of the local co-ops (they don't carry Silk almond milk). Blue Diamond has a lot less ingredients than Silk but still more than simply almonds and water. I saw a photo of fresh almond milk on Instagram last week and decided I would give it a try. Depending on the ease of making it, the cost effectiveness, and the quality I was prepared to make it a regular occurrence in our home, much like making butter.
So here is what I did...
For all of the steps you will need:
1 cup of raw almonds (organic if possible!)
Around 10 cups of water
Some sort of sweetener (I used a tablespoon of maple syrup)
A towel
A fine strainer and/or cheesecloth
A blender
A few containers
This makes approximately one half gallon of almond milk.
** Update ** Due to my container size and finding our desired strength of almond milk I now use 3/4 cup of almonds and 6-7 cups of water.

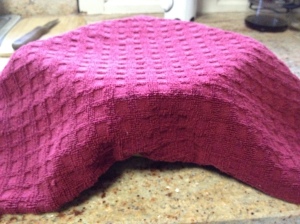
First being by taking 1 cup of almonds and putting them in a bowl. Cover the almonds with water and then cover the bowl with a towel and place it somewhere cool. Let the almonds soak in the water for 24-48 hours. If you soak them for more than 24 hours empty the water once, rinse the almonds, and cover them with water again. The almonds will absorb water and become quite plump.

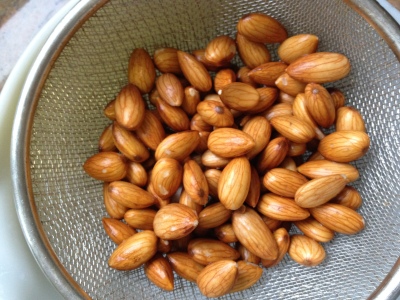
After the 24-48 hours rinse the almonds and discard the soaking water.
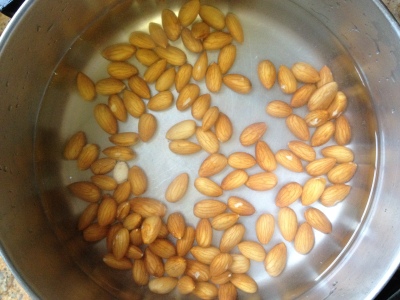
Put the almonds into your blender or into a large container if you're using an immersion blender. Add 7 cups of water and then blend. The water will quickly turn white and frothy so blend until you think there are no large almonds left. This is a bit more challenging with an immersion blender so move it around and do your best to find all of the almonds. Add your sweetener and blend again.
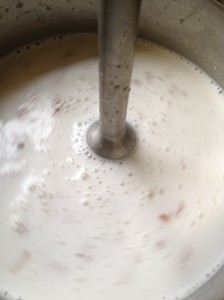
After everything is blended pour it through a strainer and/or cheesecloth and into the container you wish to store the almond milk in.
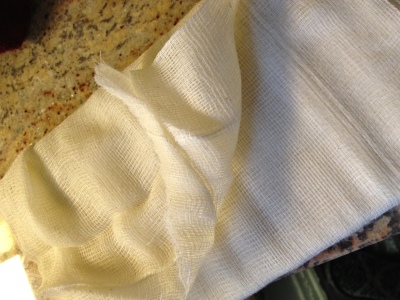


You will be left with almond milk and almond meal. The almond meal is the ground up almond pieces. This can later be used to make grain free pancakes, be added to baked goods, and more.

In my experience the immersion blender missed a few almonds so I was left with almond milk that tasted a little watered down. It will take a few tries to completely get the hang of it and to hone in on my preferred consistency and flavor. You can play around with the ratio of almonds to water and sweetener as well until you get exactly what you're looking for.
If desired you can remove the peels of the almonds after soaking but before blending. This will change the flavor slightly and you will be left with almond flour after blending rather than almond meal.
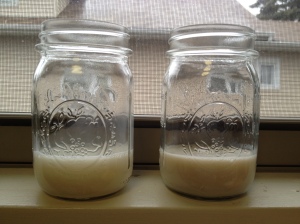
Here is a photo comparison of my almond milk (on the left) and Blue Diamond almond milk (on the right).
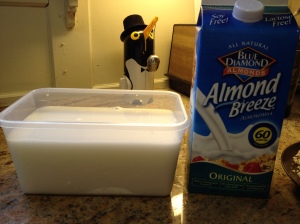
The cost of a half gallon of Blue Diamond almond milk is $4.19 and the cost of approximately two cups of almonds is $2.47. Two cups of almonds yields one gallon of almond milk so cut that cost in half and you see that $4.19 vs less than $1.25 is a wonderful deal. Of course there is more time involved in making almond milk yourself and a few additional costs including the energy to blend it, water, sweetener, and cheesecloth, if used. But you gain a fresh homemade beverage without any added ingredients. So... give it a try and let me know what you think! :)


Amazing! I'm doing this for sure! Thanks for figuring it out.
ReplyDeleteThe one time I made this (you're inspiring me to do it again) I threw a couple dates in when I blended the almonds. It was amazing!
ReplyDeleteWow, so very awesome! Thanks for sharing... will be sure to try this out!
ReplyDeleteWish I had a blender! I would totally do this but I'm broke.
ReplyDeleteLet me know how it turns out! :)
ReplyDeleteI wish we had a regular blender.. I think it would work much better. But we're broke too!! Have you tried Craigslist or Freecycle?
ReplyDeleteLet me know how it goes.. Maybe even make chocolate? ;)
ReplyDeleteThat's a great idea. Once I master plain I think I'll experiment with including other fun things. Endless possibilities! :)
ReplyDeleteWe make coconut milk the same way. Minus the soaking. You and I should start a side blog on things we make homemade.
ReplyDeleteI'll have to try that. I didn't know!
ReplyDeleteWe could! And be famous? :)
[...] may remember back in December when I posted a little tutorial for homemade almond milk.. and how I mentioned at the end that you can use the resulting pulp to make either almond meal or [...]
ReplyDelete